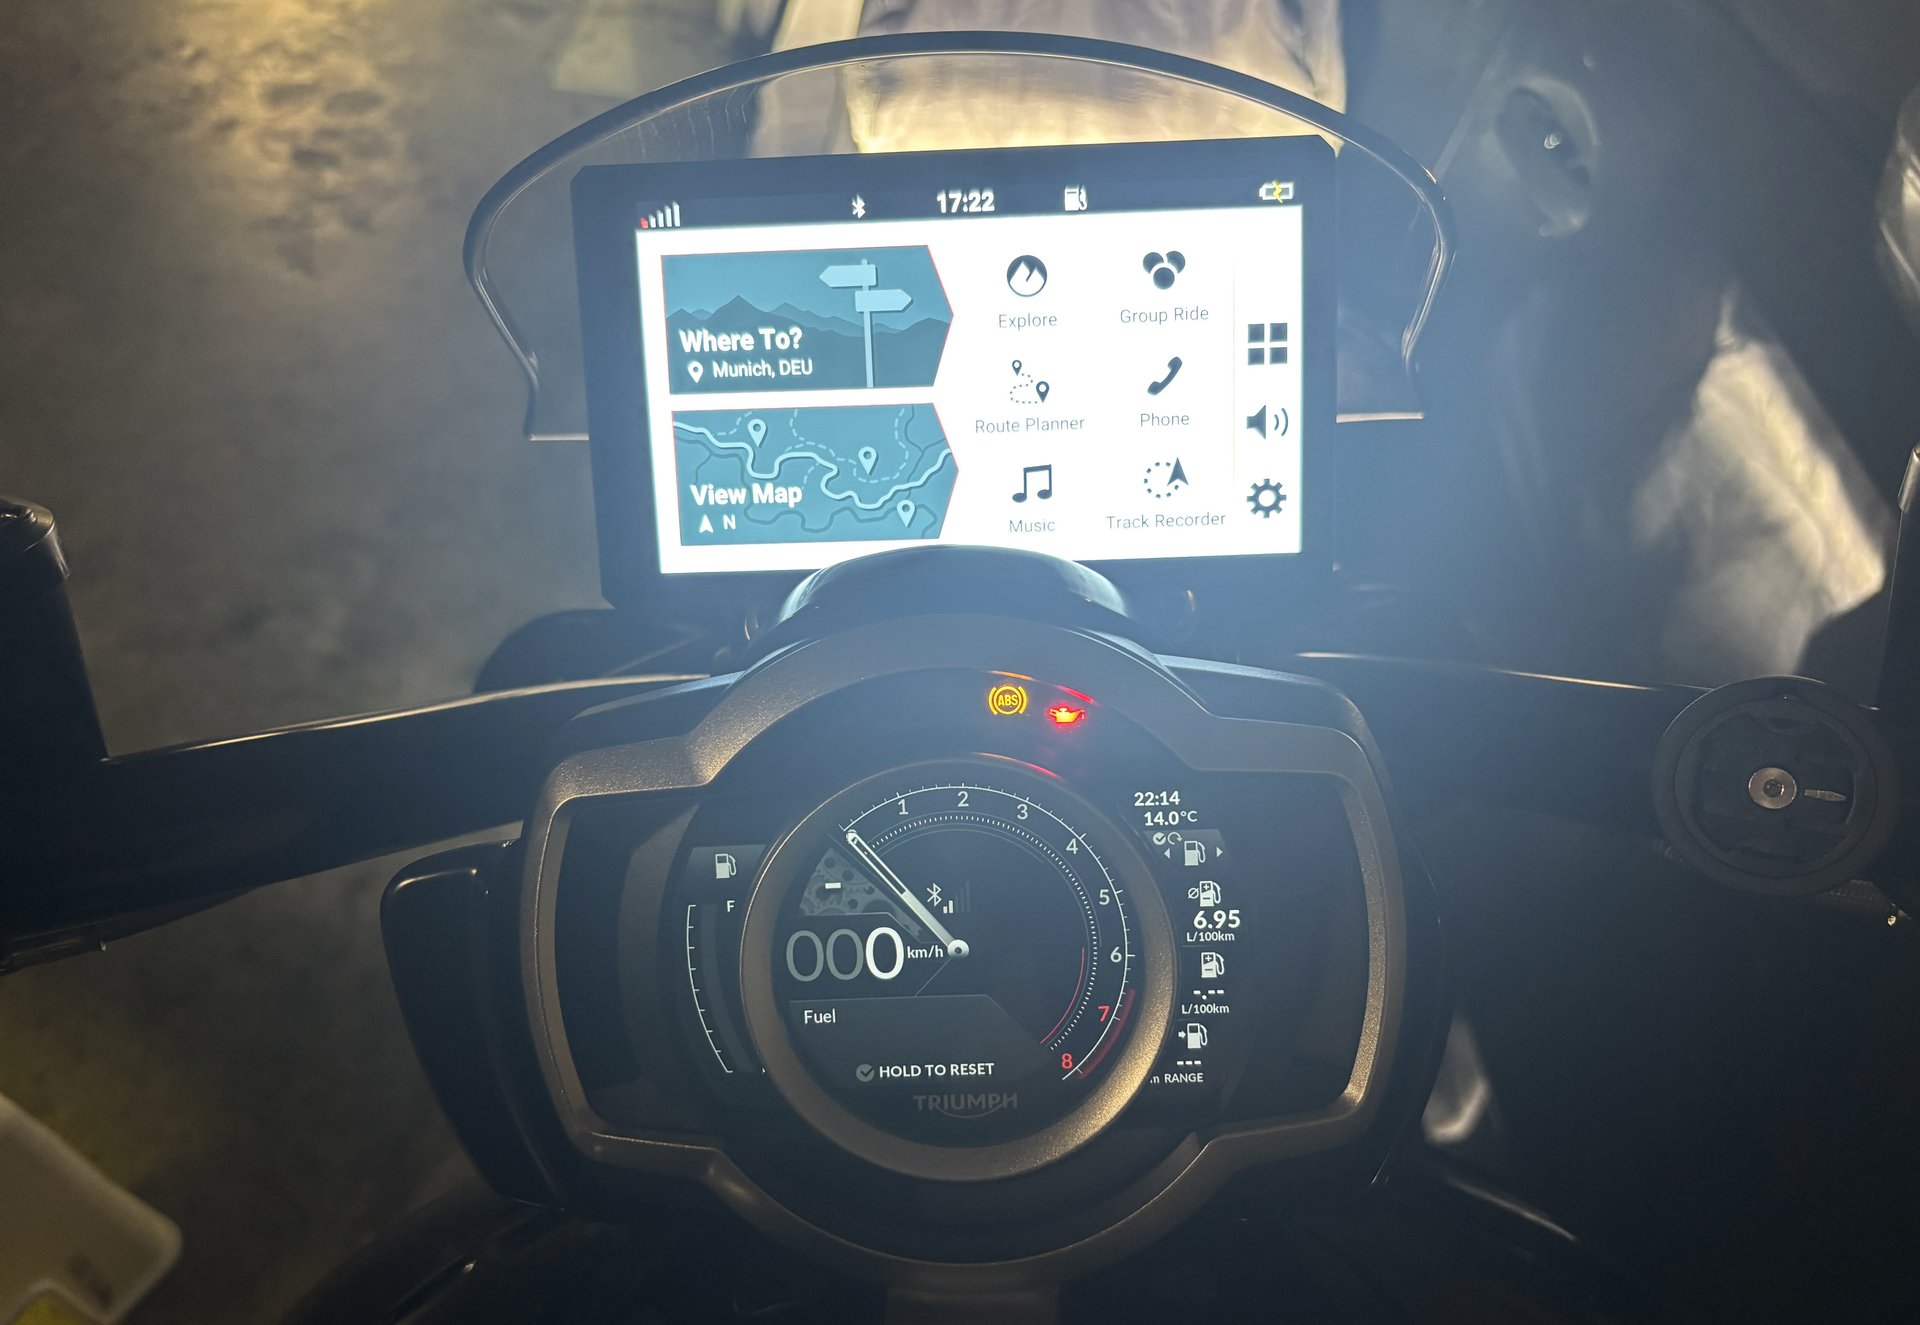
The 2024 Triumph Rocket 3 Storm R comes equipped with a basic navigation system, accessible through a communication module (part number A9820200) and a smartphone application. This setup provides directional arrows and voice-guided turn-by-turn instructions, but lacks a detailed map view. For more complex routing needs, alternative solutions may be necessary. Having previously used a Garmin Zumo XT2 with my BMW K 1600 GT, I decided to adapt it for use with the Rocket 3.
Installing an external navigation system on a motorcycle presents two primary challenges: securing a suitable mount and sourcing a power supply that activates only when the engine is running. To address these, I consulted various Triumph Rocket 3 forums and Facebook groups, ultimately devising a practical solution.
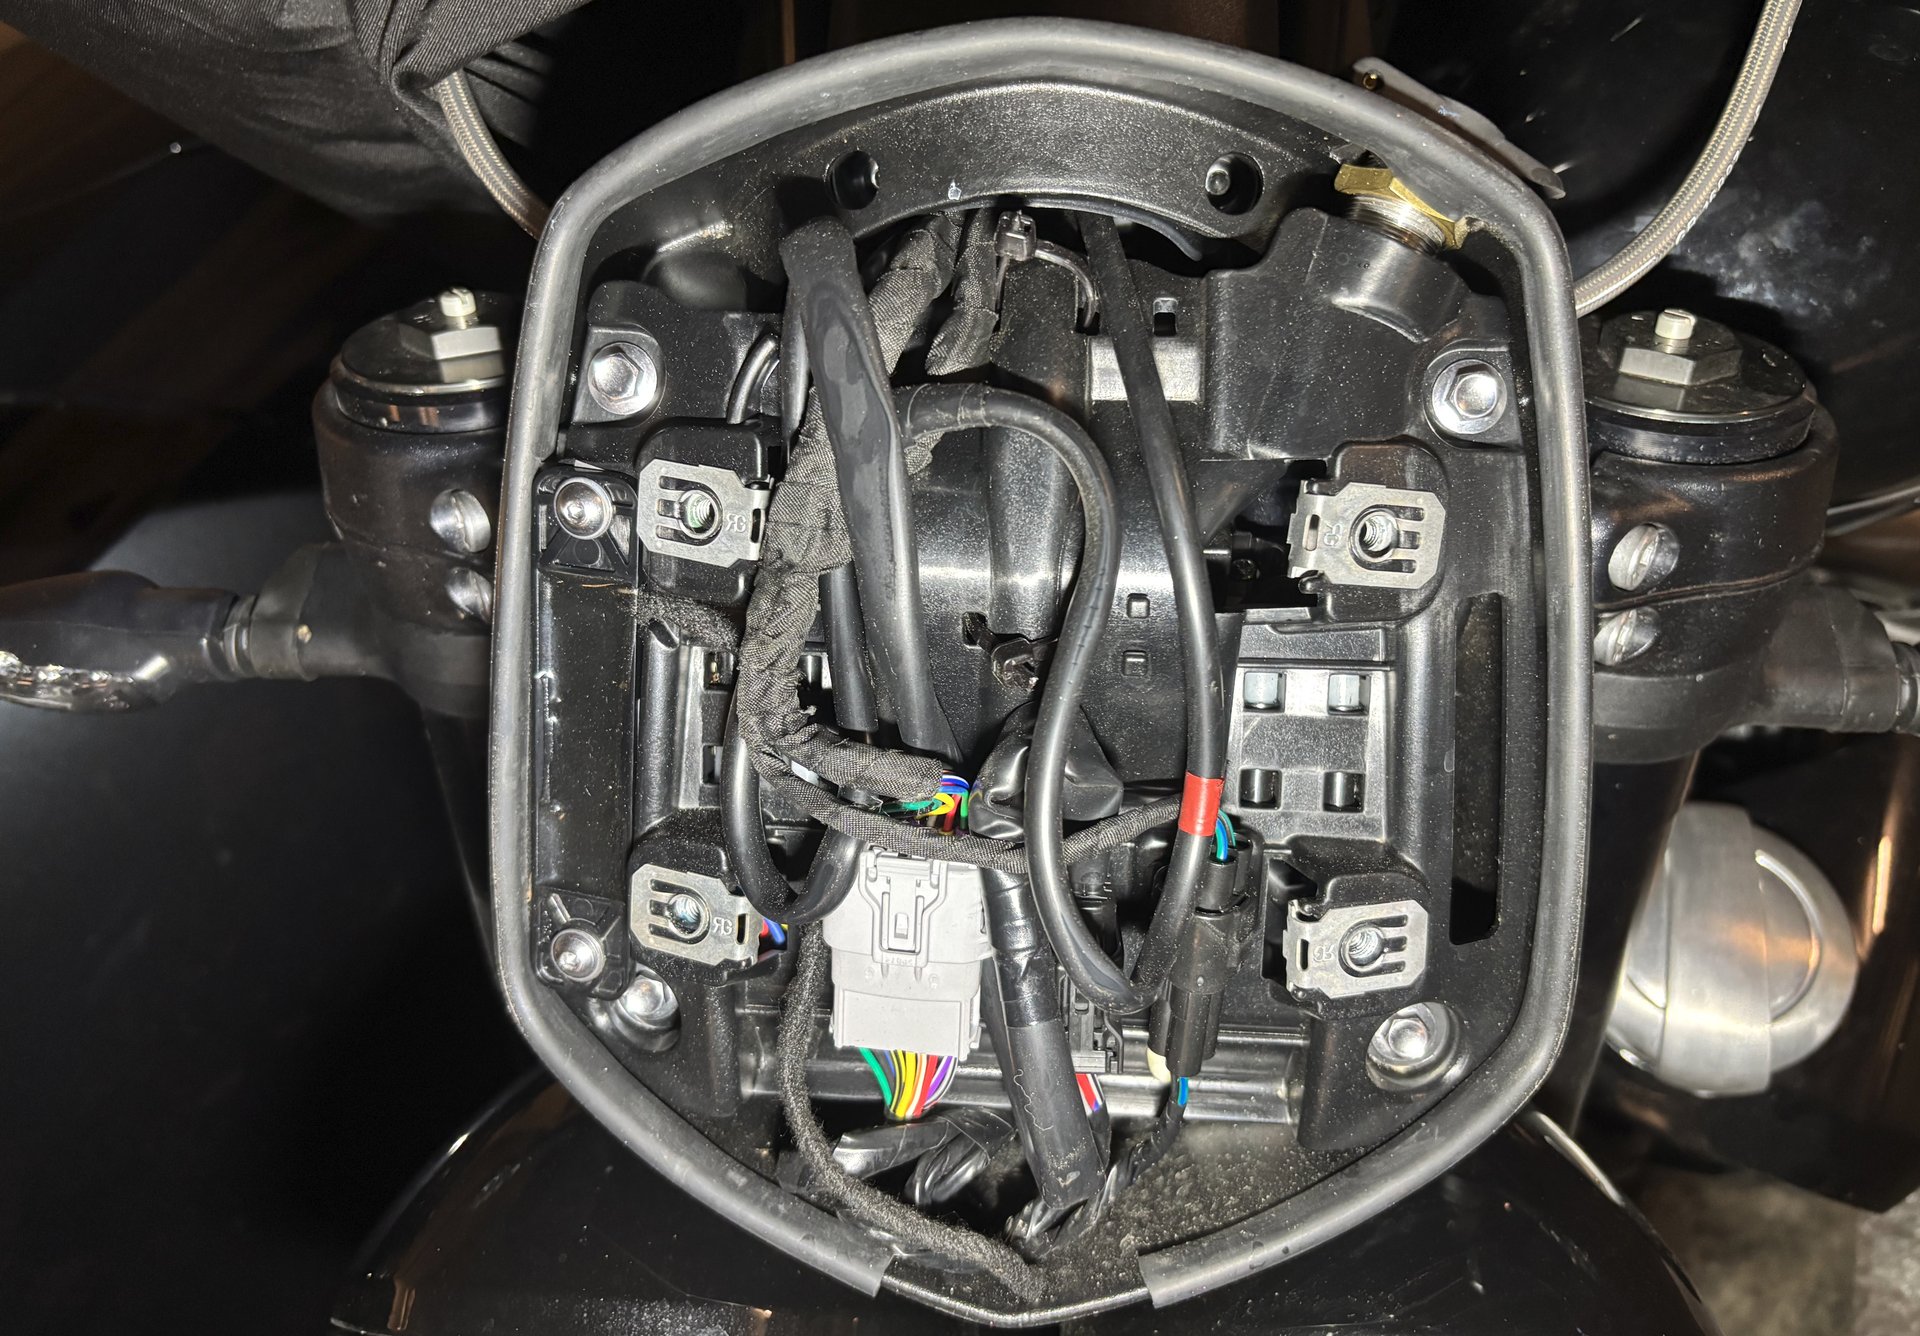
Initially, I examined the ISO 4165 socket on the dashboard, discovering it offers a switched power supply, active only when the ignition is engaged. This was ideal for my needs. To connect the navigation cable, I first removed the flyscreen.

Upon disconnecting the socket, I identified the connector type and ordered compatible male and female versions.
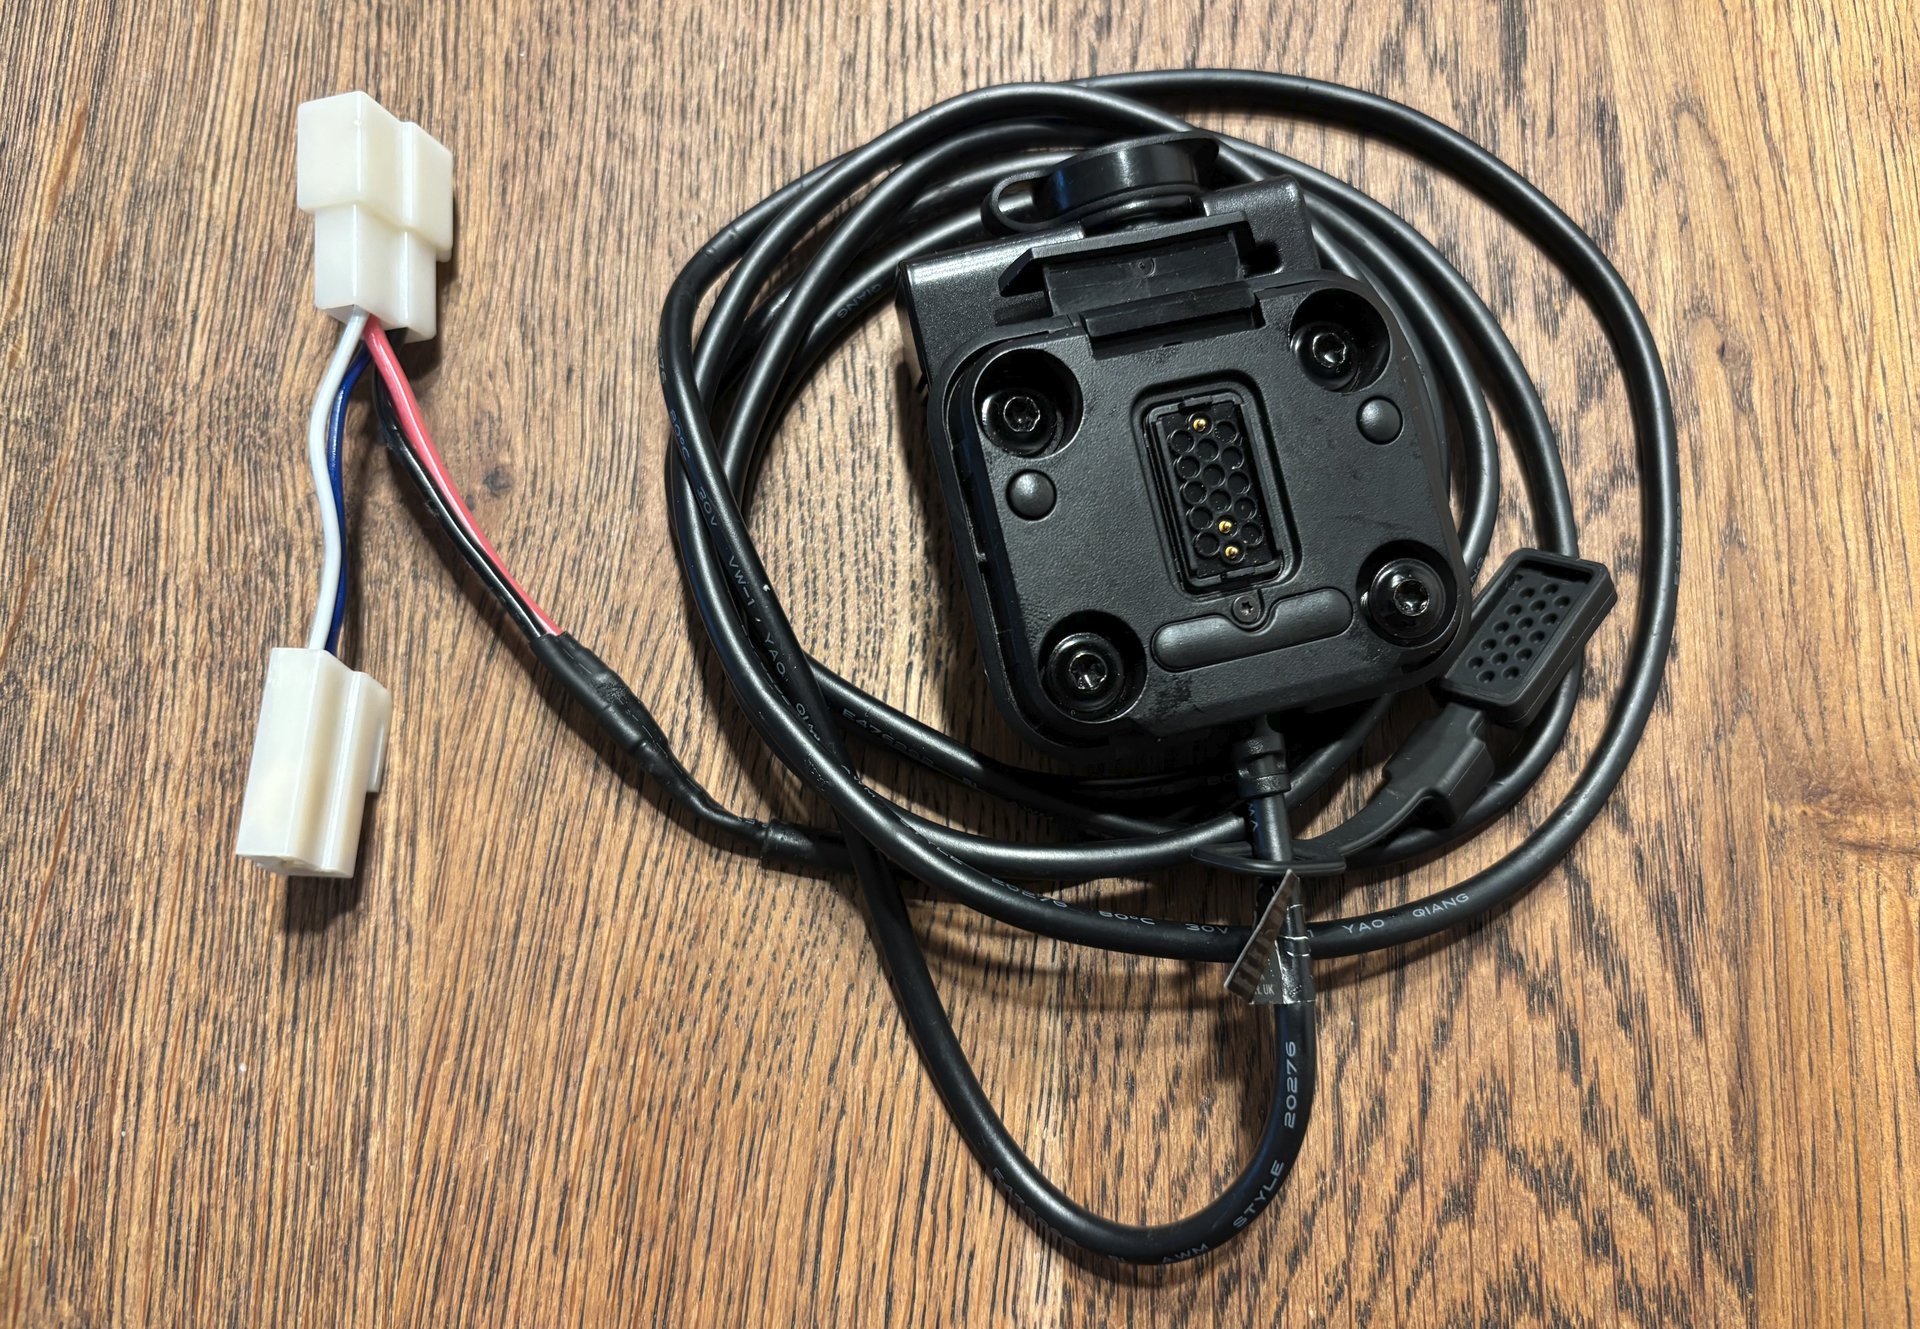

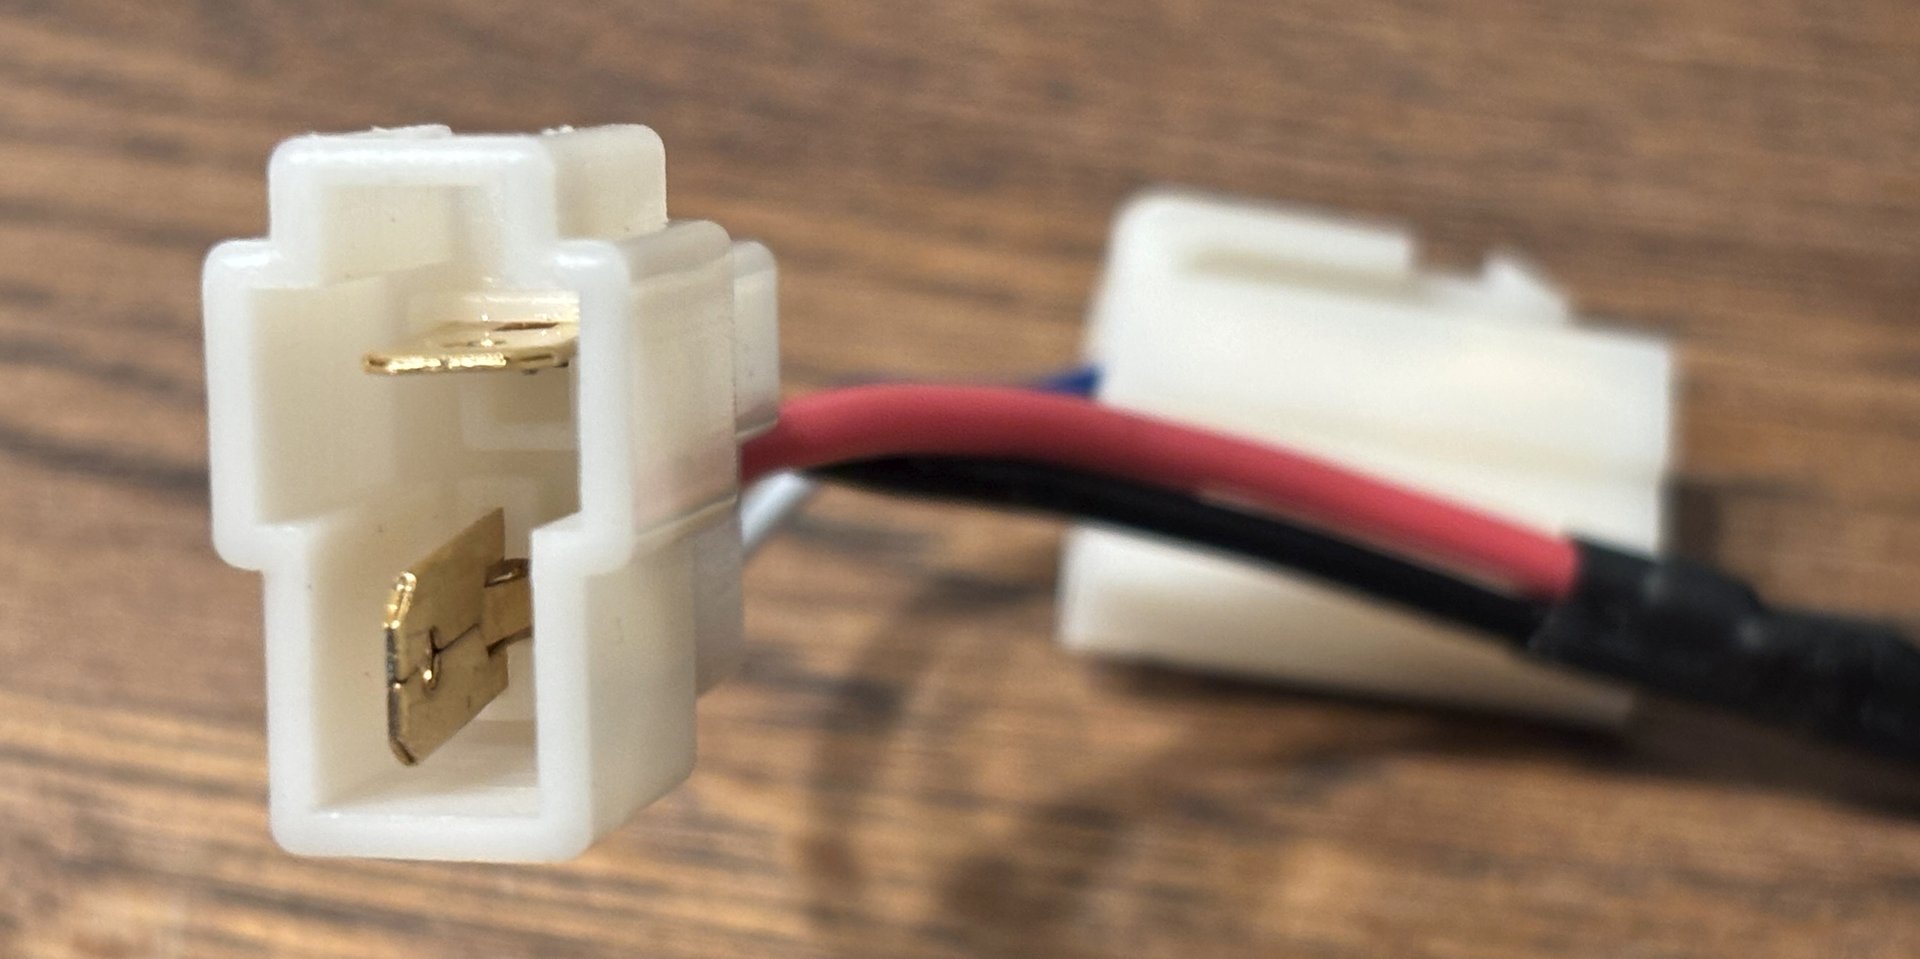
I soldered the Garmin power cable to one connector, ensuring the socket remained powered by connecting the other.

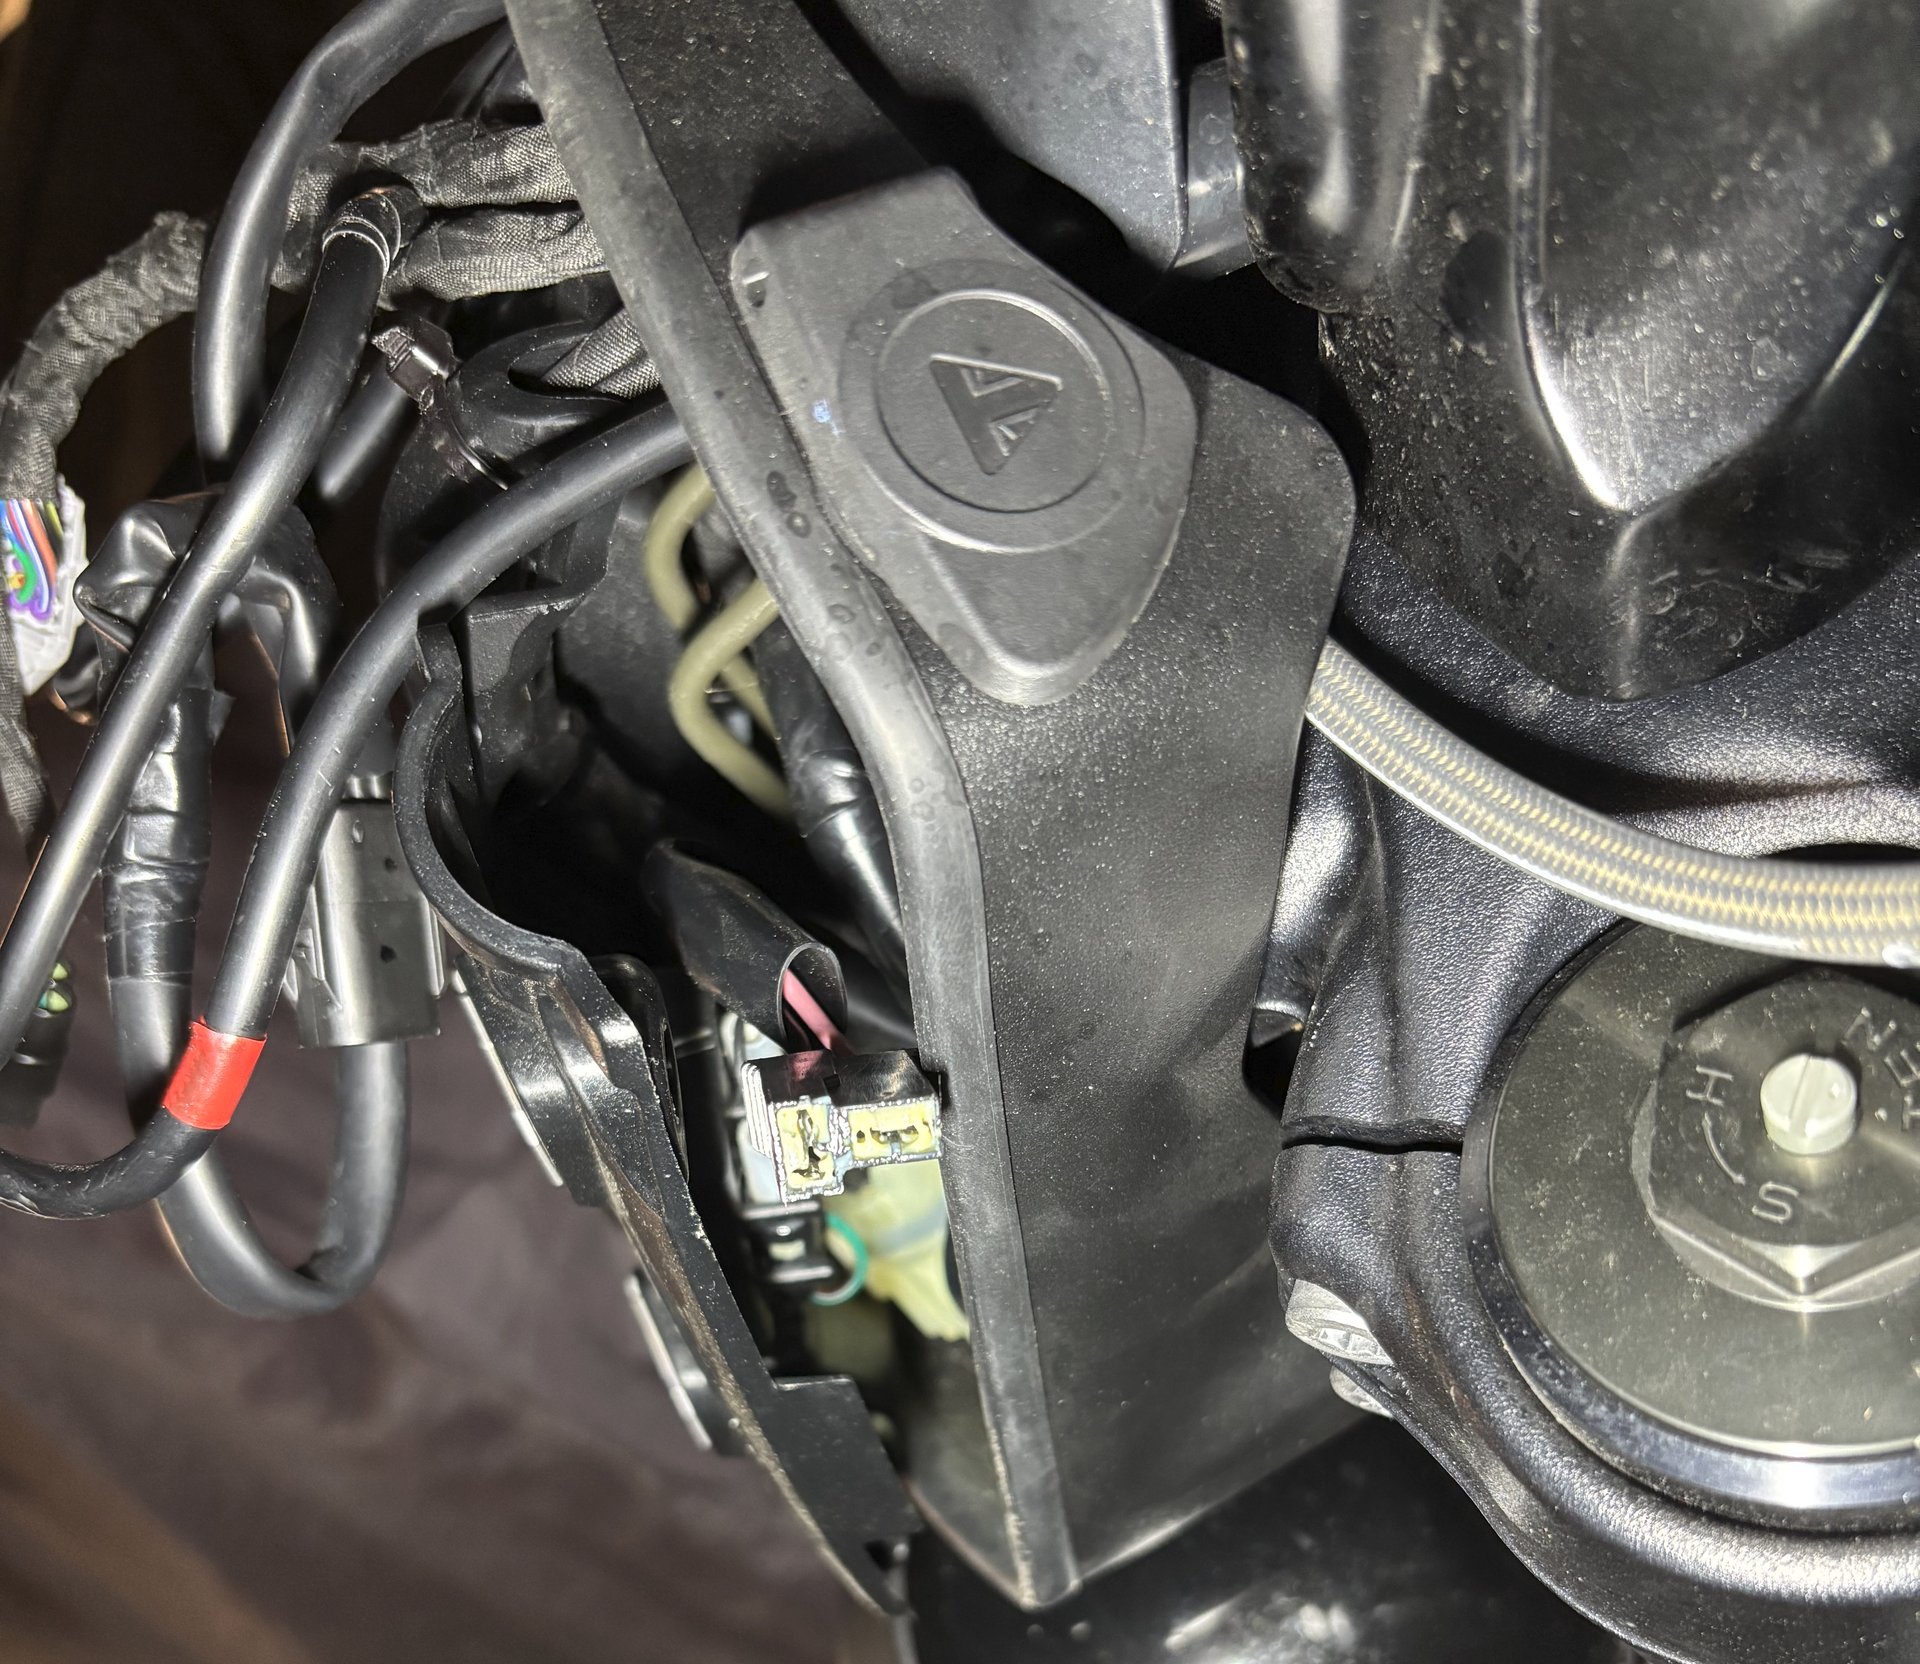
Fortunately, the front panel casing provided ample space for the connectors and Garmin cable, eliminating the need to shorten the cable, a consideration for future adaptability.
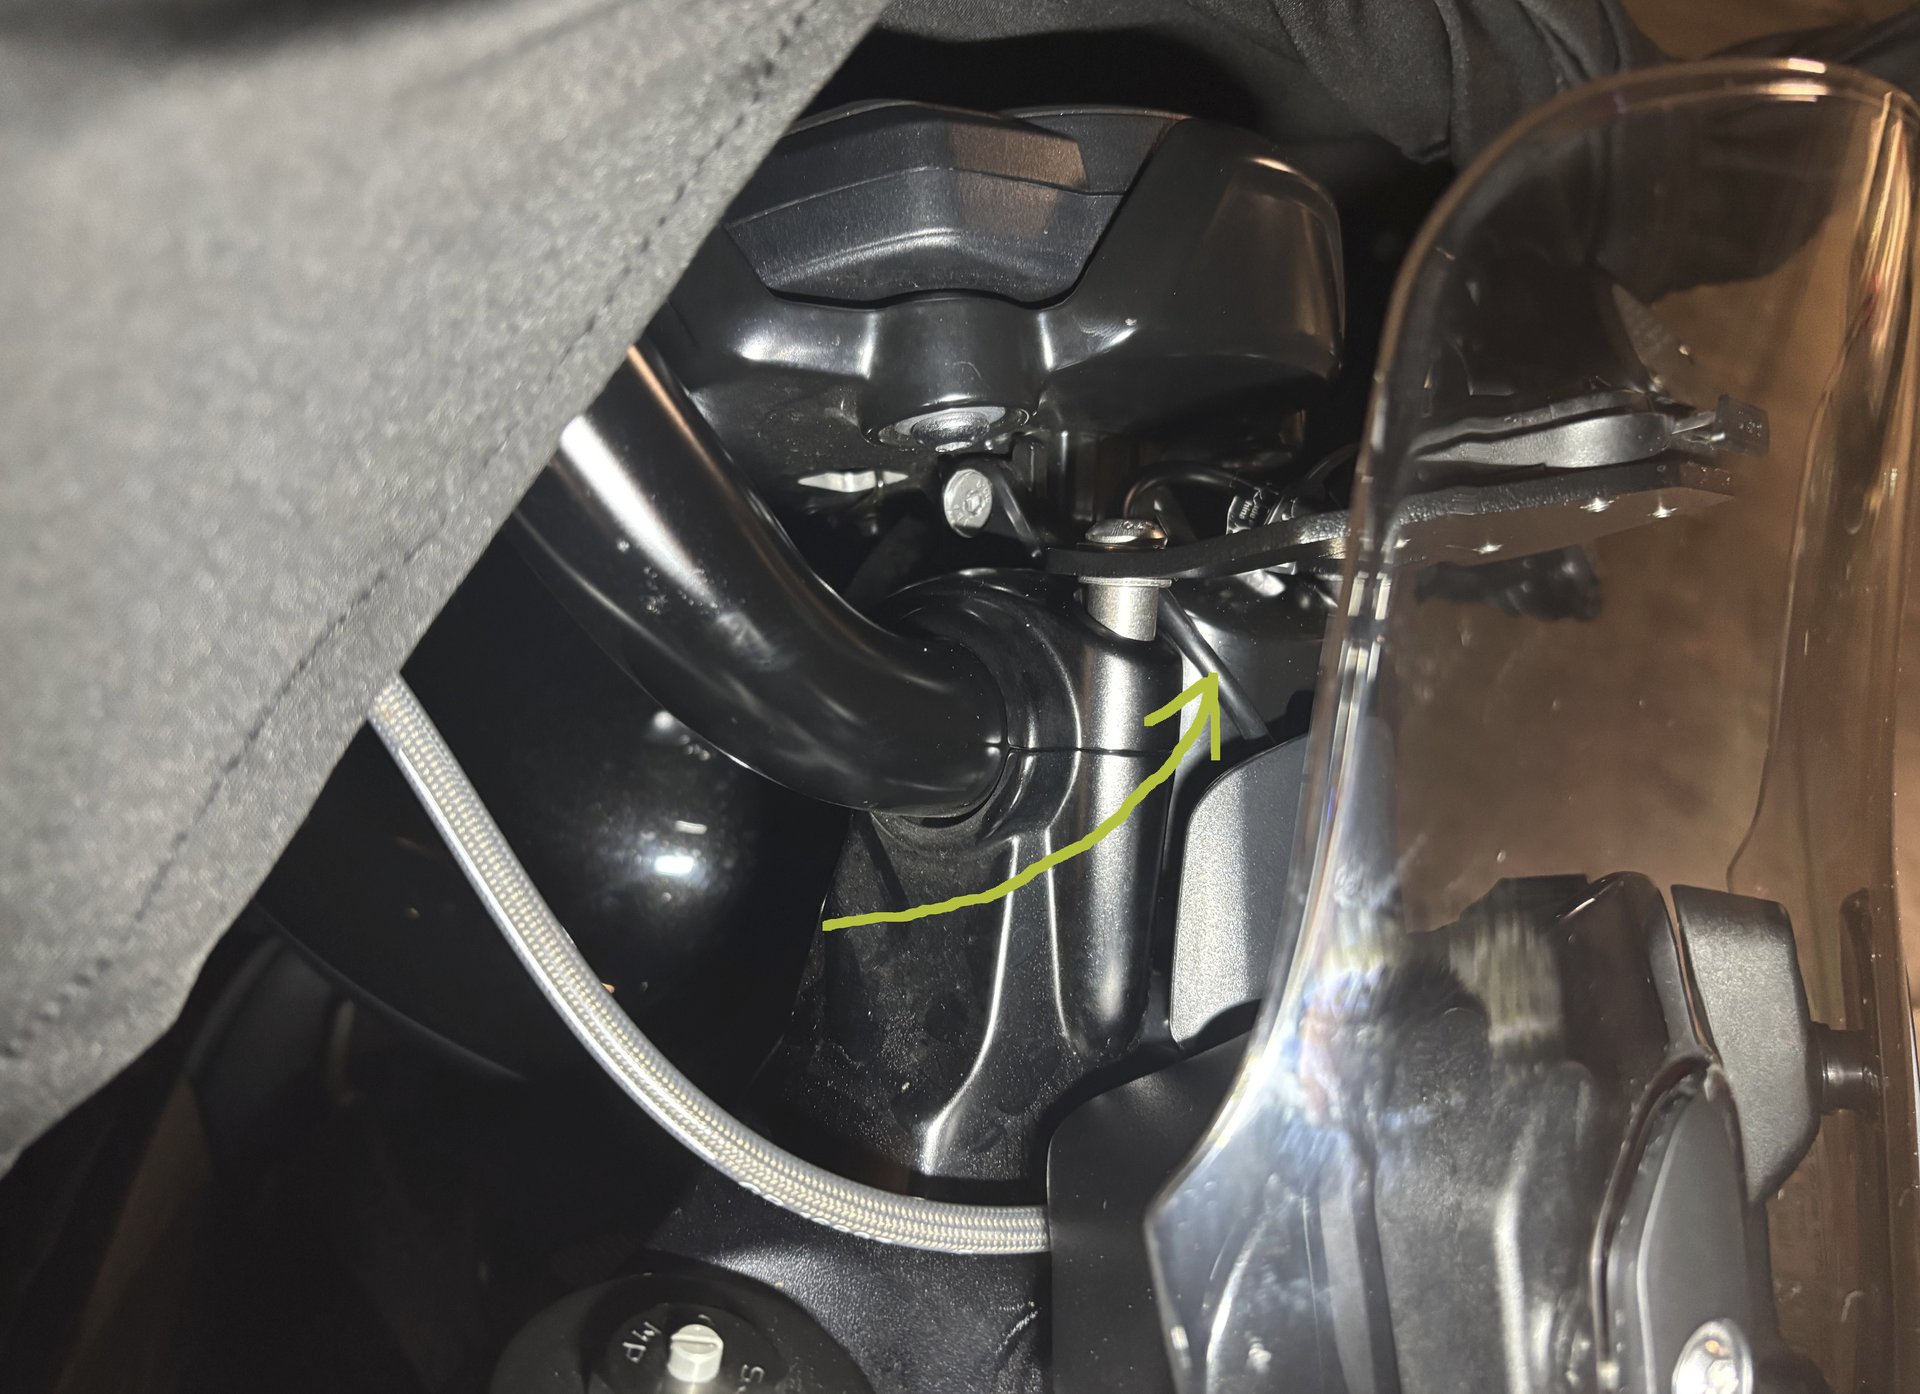
After verifying the power connection, reassembling the flyscreen, and installing the holder, only a small portion of the Garmin power cable was visible. The cable was neatly routed alongside existing bike cables, resulting in a clean and organized installation.


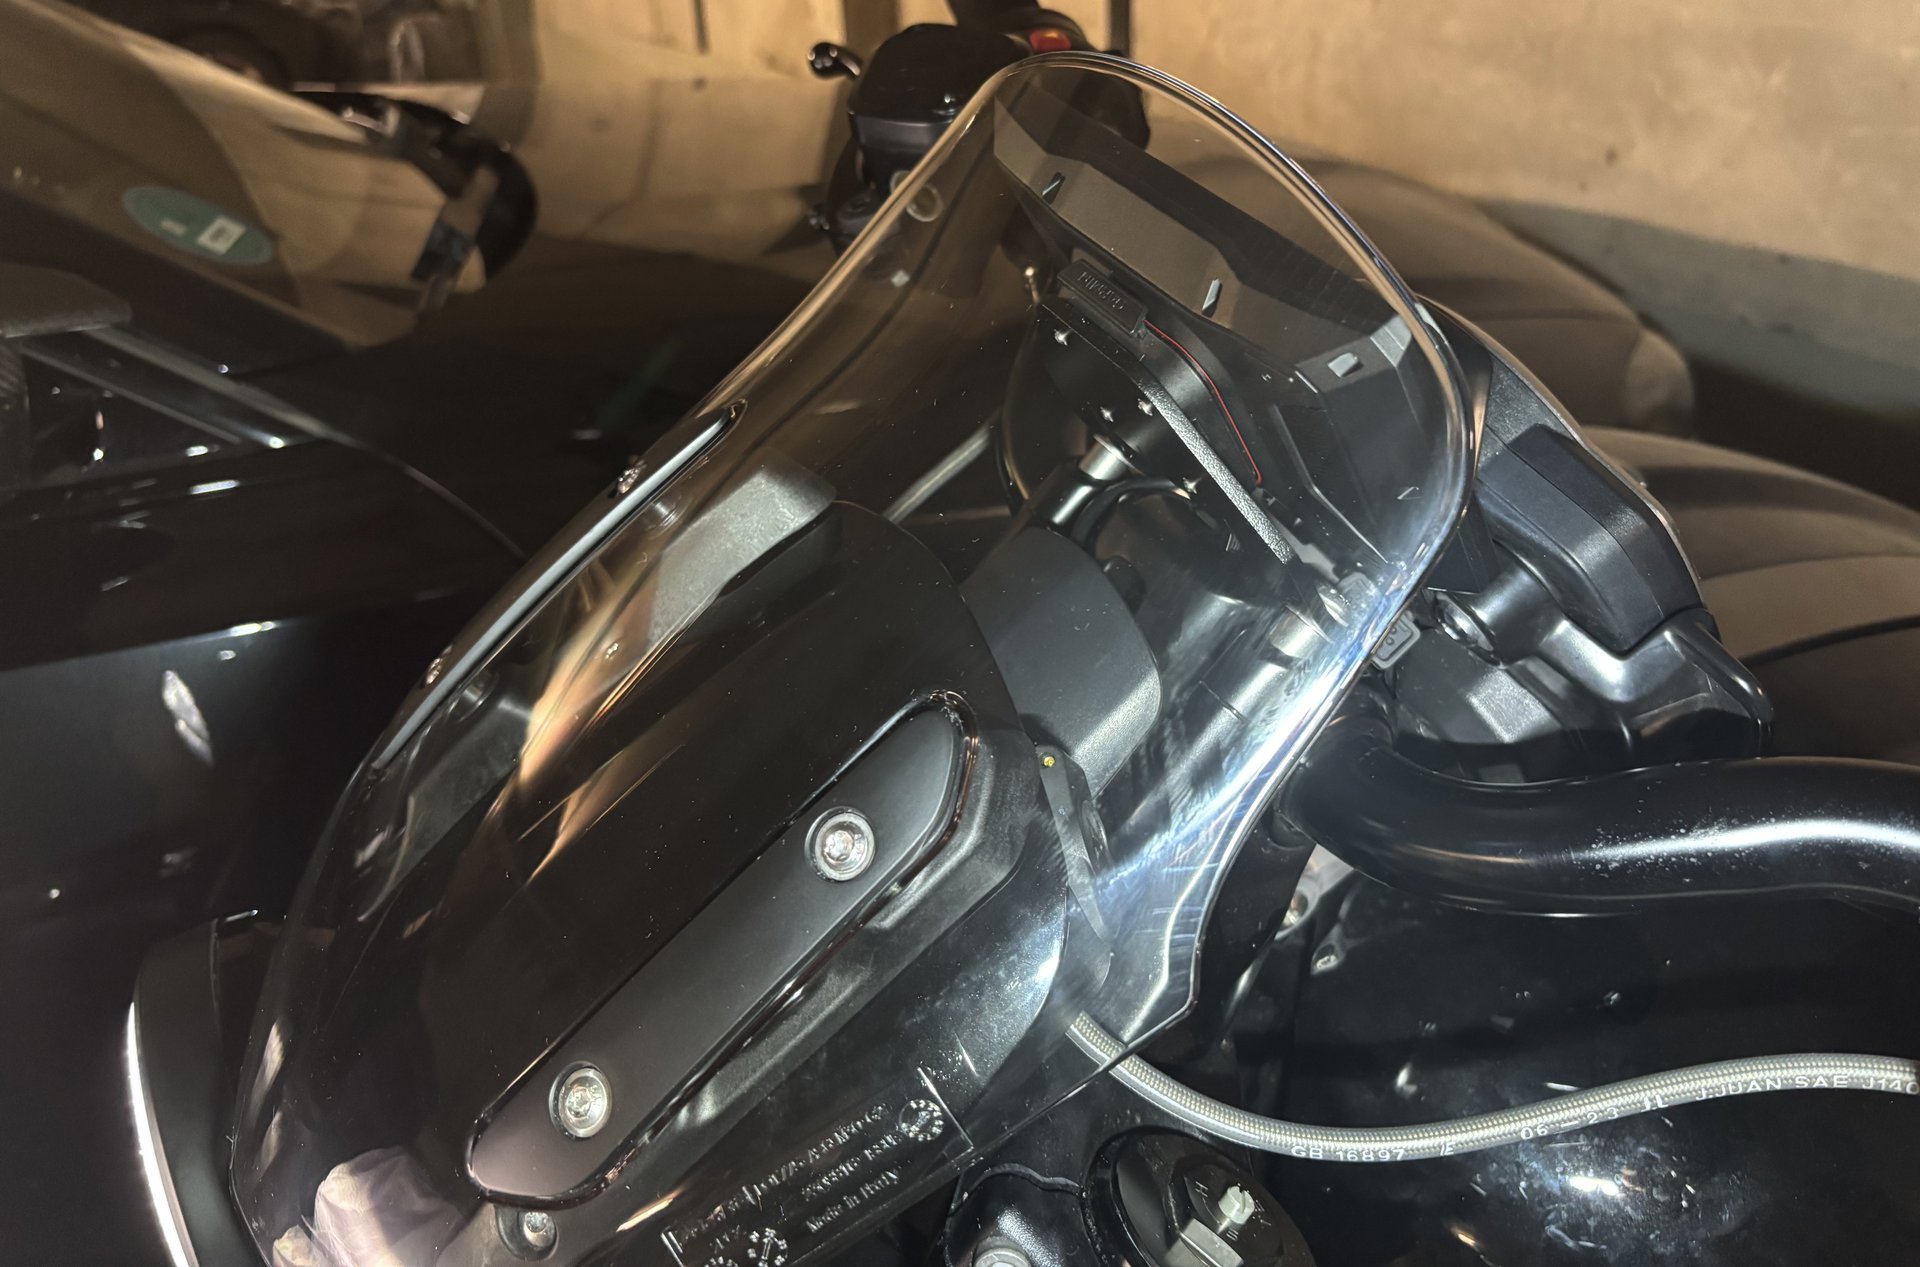
The final setup positions the navigation device below the screen, offering protection from insects and rain, despite its water-resistant design. The space is well-utilized, allowing easy attachment and detachment of the device. With this setup, my Rocket 3 is ready to explore new routes with confidence.